Wall painting is one of the simplest yet most transformative ways to enhance the look and feel of your home. A fresh coat of paint can brighten a room, create a new atmosphere, and even increase property value. However, achieving a professional-quality finish requires more than just picking up a brush and applying paint. With the right techniques, tools, and preparation, you can achieve smooth, long-lasting results that elevate your interior or exterior spaces.
Preparing Your Walls for a Perfect Paint Job
Preparation is the most important step in any painting project. Skipping this stage often leads to uneven finishes, peeling paint, or visible imperfections. Start by cleaning your walls to remove dust, grease, and dirt. A clean surface ensures better paint adhesion and a smoother result.
Next, inspect the walls for cracks, holes, or dents. Use filler or putty to repair these imperfections and sand the surface once it dries. Sanding creates a smooth base and helps the paint adhere properly. If your walls have old, peeling paint, it’s essential to scrape it off before applying a new coat.
Priming is another crucial step, especially if you’re painting over a dark color or a stained surface. A primer helps create an even base, improves paint coverage, and enhances durability. It also reduces the number of paint coats required, saving both time and money.
Finally, protect your surroundings. Cover floors, furniture, and fixtures with drop cloths or plastic sheets. Use painter’s tape to secure edges and prevent paint from spreading to unwanted areas.
Choosing the Right Tools and Paint Types
The quality of your tools and paint can significantly impact the final result. Brushes, rollers, and sprayers each serve different purposes, and selecting the right one depends on the type of surface you’re working on.
Brushes are ideal for detailed work, such as edges and corners, while rollers are perfect for covering large areas quickly and evenly. Paint sprayers provide a smooth and professional finish but require more skill and preparation.
When it comes to paint types, there are several options to consider. Matte finishes are great for hiding imperfections, while satin and eggshell finishes offer a slight sheen and are easier to clean. Glossy finishes are highly durable and suitable for areas that require frequent cleaning, such as kitchens and bathrooms.
Color selection is another important factor. Light colors can make a room feel larger and more open, while darker shades add depth and sophistication. It’s always a good idea to test paint samples on your walls before making a final decision.
Investing in high-quality paint may cost more upfront but often provides better coverage, durability, and overall appearance.
Applying Paint with Professional Techniques
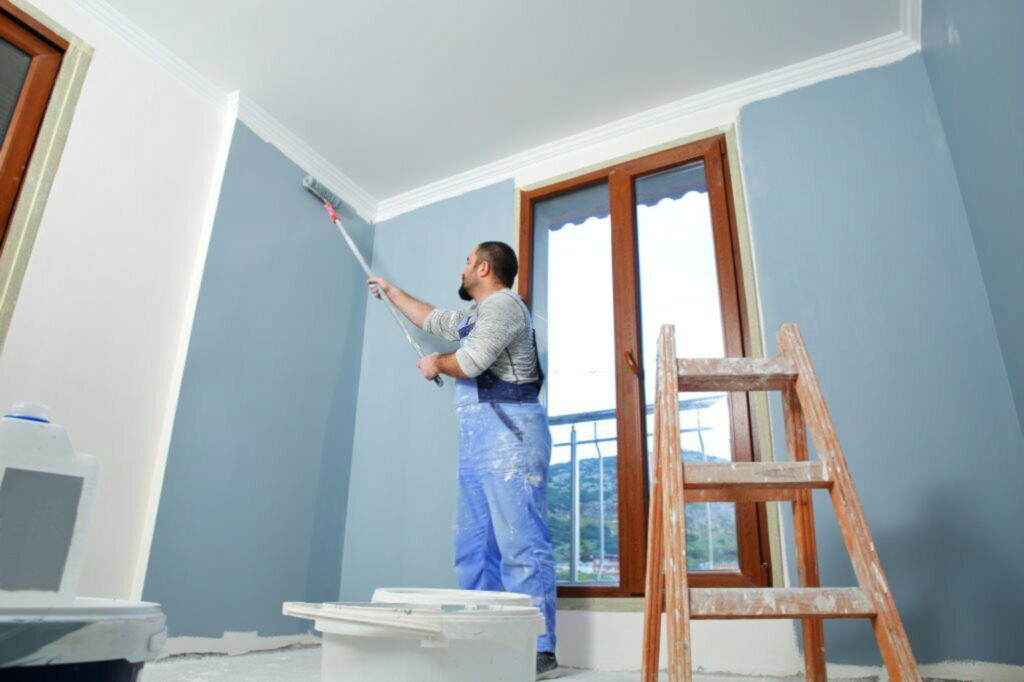
Once your walls are prepared and your tools are ready, it’s time to start painting. Begin by cutting in the edges using a brush. This involves painting the corners, edges, and areas around fixtures before using a roller on larger surfaces.
When using a roller, apply paint in a “W” or “M” pattern to distribute it evenly. This technique helps avoid streaks and ensures consistent coverage. Work in small sections and blend each area while the paint is still wet to prevent visible lines.
Applying multiple thin coats is better than using one thick coat. Thin layers dry more evenly and reduce the risk of drips and uneven texture. Allow each coat to dry completely before applying the next one.
Maintaining a steady hand and consistent pressure is key to achieving a smooth finish. Avoid overloading your brush or roller with paint, as this can lead to drips and uneven application.
Proper ventilation during painting is also important. It helps the paint dry faster and reduces exposure to fumes, creating a safer working environment.
Finishing Touches and Maintenance for Lasting Results
The final steps of your painting project are just as important as the initial preparation. Once the paint has dried, carefully remove painter’s tape to reveal clean, sharp edges. Touch up any areas that may need additional coverage or correction.
Inspect your walls under different lighting conditions to ensure a consistent finish. Minor imperfections can often be fixed with a small brush or roller.
Cleaning your tools immediately after use helps maintain their quality for future projects. Proper storage of leftover paint also ensures it remains usable for touch-ups later on.
Maintenance is key to preserving the beauty of your painted walls. Regular cleaning with a soft cloth or mild detergent can keep your walls looking fresh. Avoid using harsh chemicals that may damage the paint finish.
If you notice chips or cracks over time, address them promptly to prevent further damage. Keeping a small amount of leftover paint makes it easier to perform quick touch-ups.
Wall painting is both an art and a skill that improves with practice. By focusing on proper preparation, using the right tools, and applying professional techniques, you can achieve stunning results that enhance the overall look of your home. With a little patience and attention to detail, your walls can become a beautiful reflection of your style and creativity.